Biometric photos according to ICAO standards
In this article, we show you how to take high-quality biometric photos that comply with ICAO and ISO standards.
Biometric photos according to ICAO standards
1. Why biometric photos are important: ICAO & ISO basics
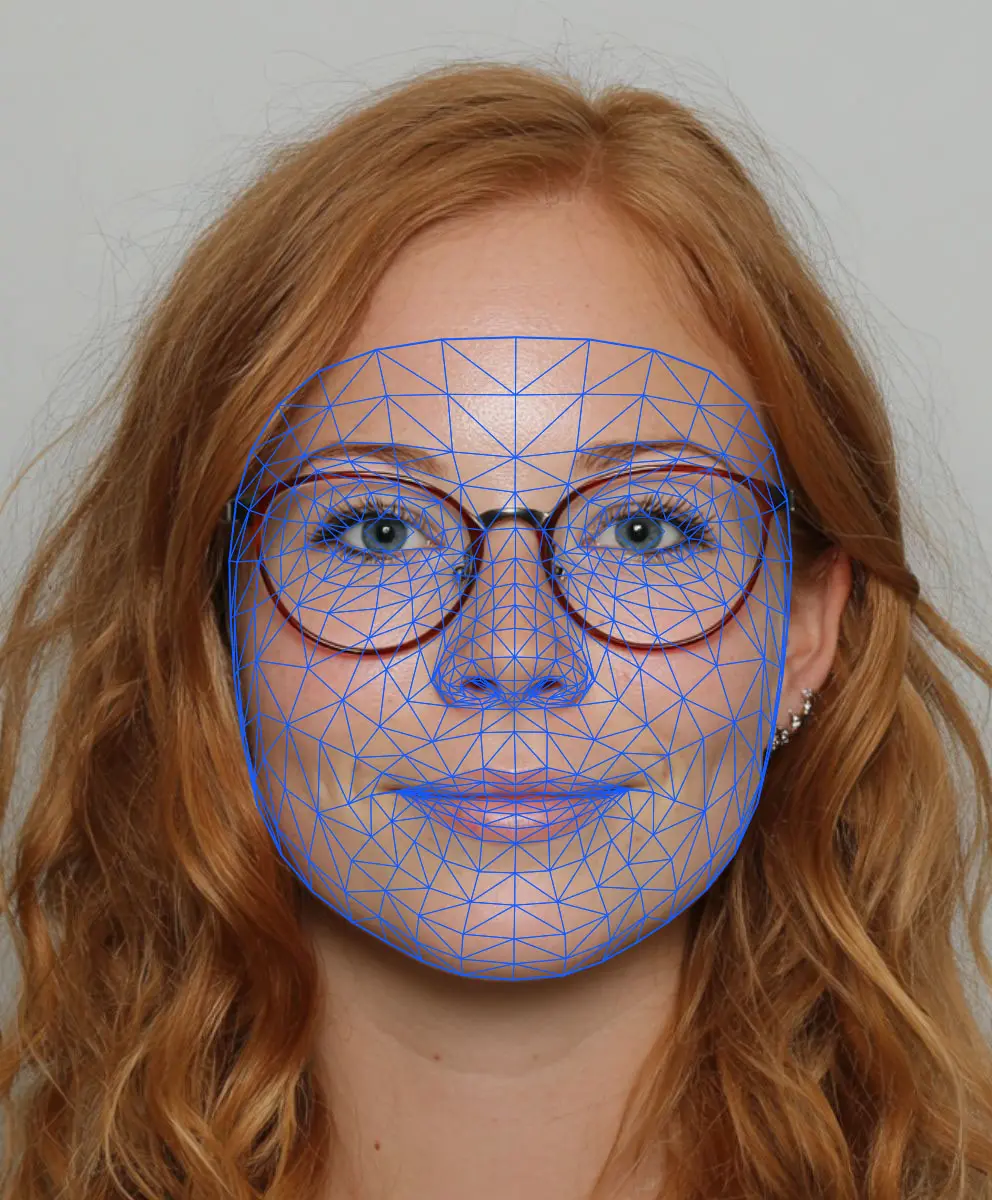
ICAO Document 9303 (machine-readable travel documents) sets out the international standards for biometric photos used in passports, visas, and ID cards. Among other things, it defines the format (usually 35 × 45 mm) and specifies that the face must occupy 70–80% of the height of the Headshot photos. In addition, ISO/IEC 19794-5 defines technical parameters such as resolution, lighting conditions, facial orientation, background, and expression.
You can collect biometric photos using software such as Photo Collect. When creating headshot photos, the user is guided through the process, which leads to good results. If you need to collect photos without software support, these tips will help you.
Important requirements for a biometric photo:
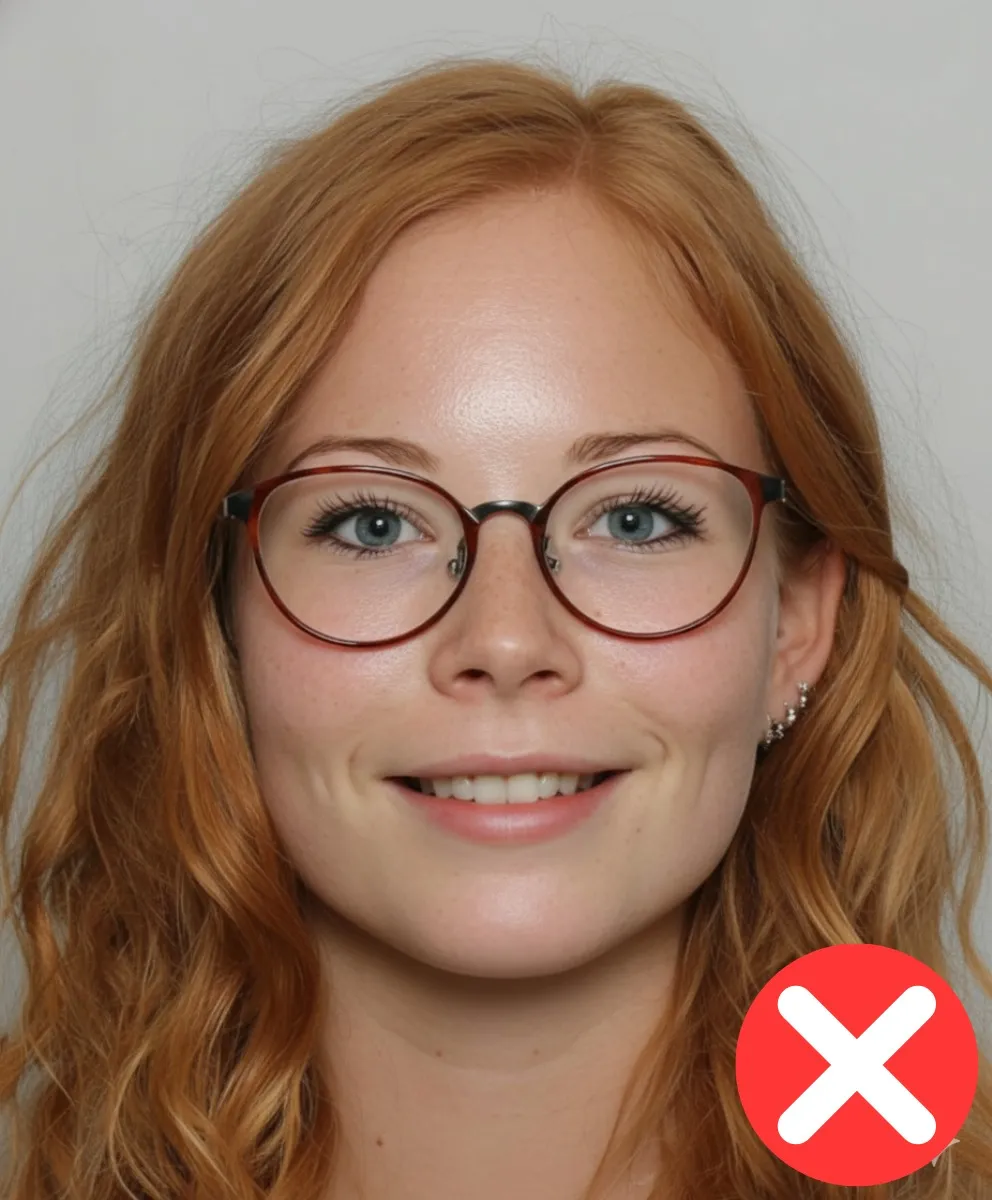
- Face centered, neutral facial expression, closed mouth
- Light, monochrome background without shadows
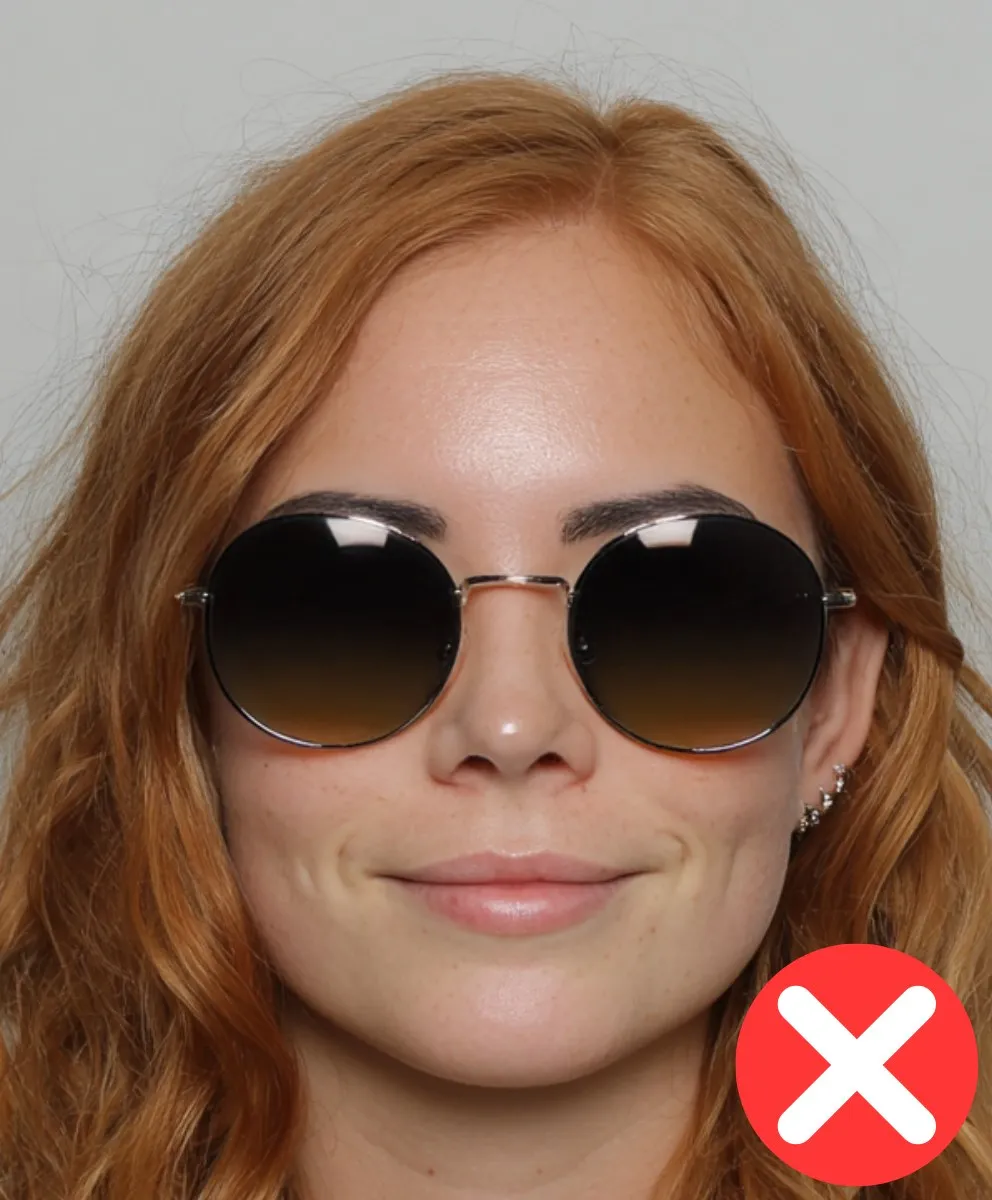
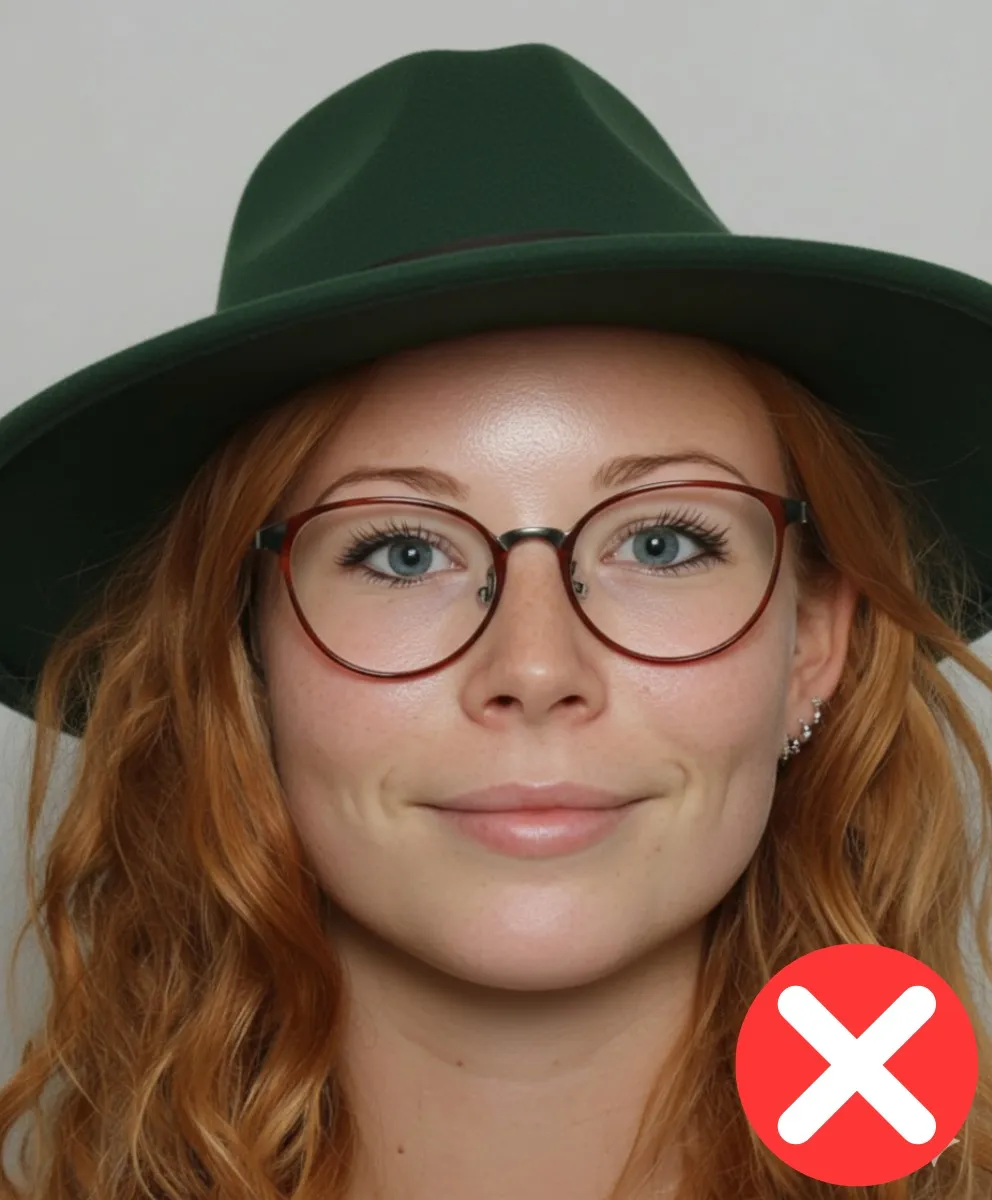
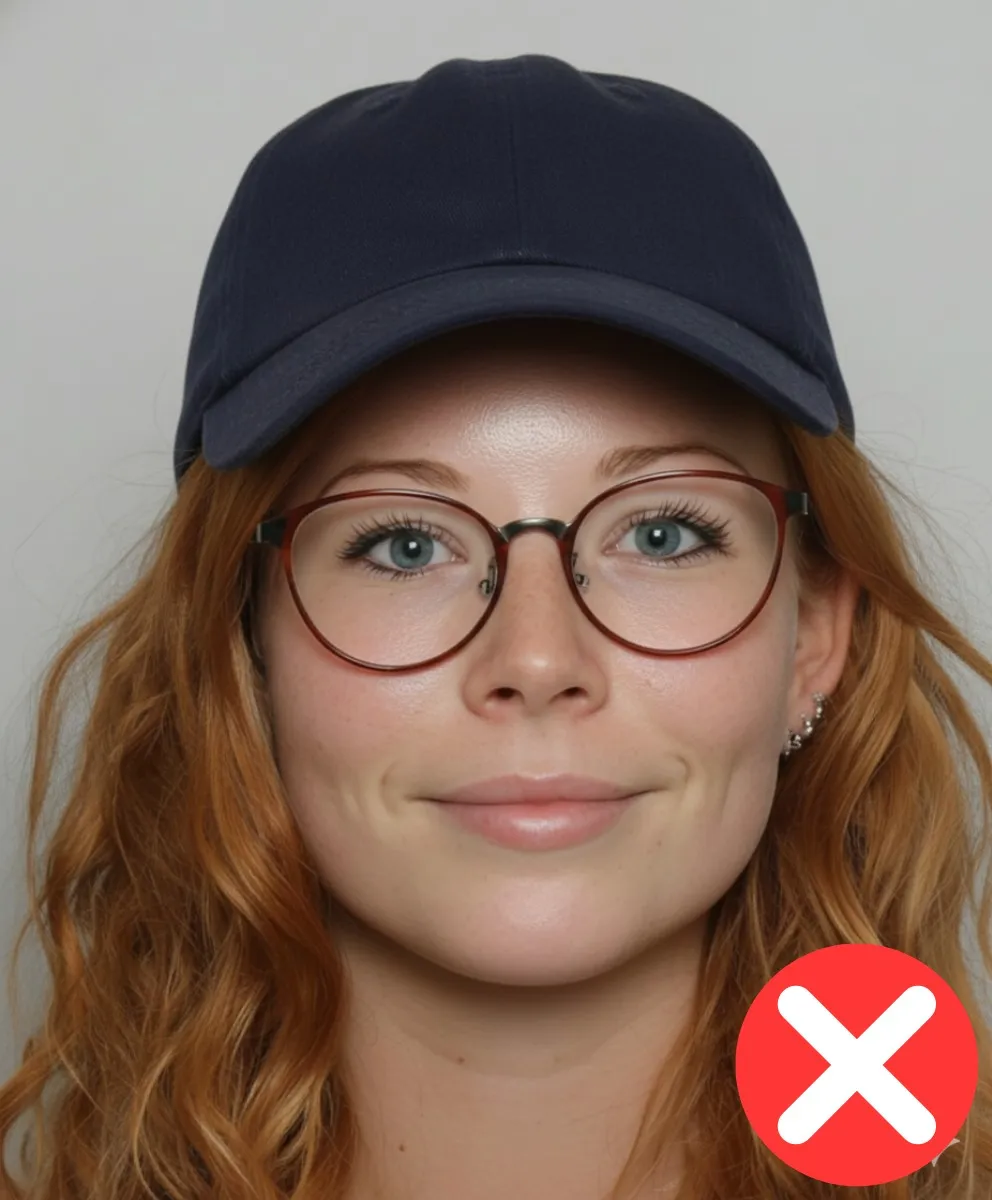
- No jewelry, no headgear (except for religious reasons), no reflections
- No smile, no tilted head posture
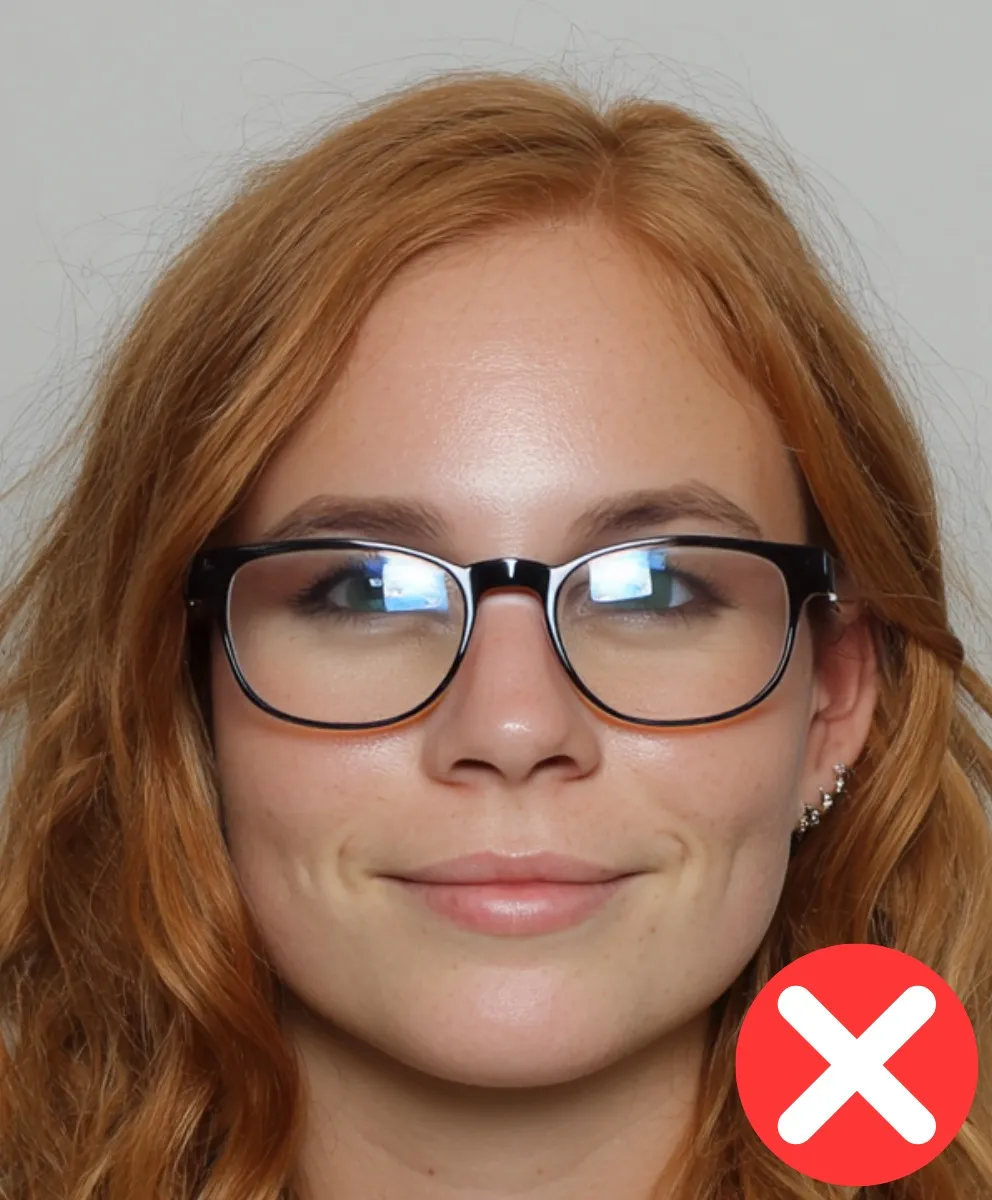
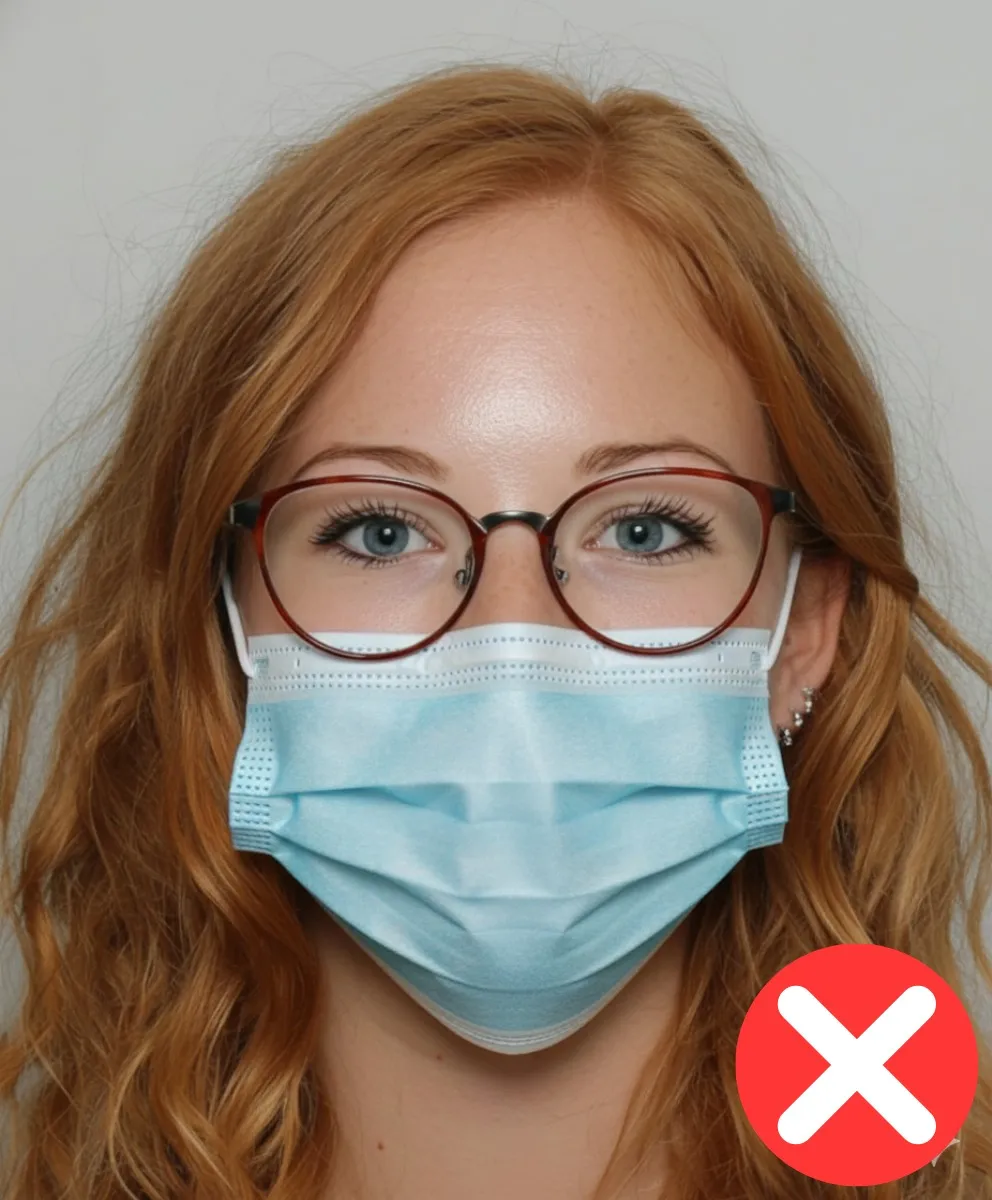
- When glasses are worn: thin frames, no reflections, eyes fully visible
2. How to take a biometrically correct photo
Camera, subject & composition
- The camera should be at eye level with the face in the center.
- The head, neck and shoulders should be fully visible.
- The distance to the camera should be chosen so that the face takes up about half of the picture.
Light & background
- Use soft, even light from the front - ideally daylight without direct sunlight.
- The background must be light and monochrome, preferably white or light gray.
- No shadows in the face or background, no other people or objects visible.
Posture & expression
- Neutral facial expression, mouth closed, eyes open.
- Head upright, looking straight into the camera.
- No lateral rotation or tilt.
Glasses & headwear
- It is best to remove glasses. If worn: no reflection, thin frame, eyes visible.
- Head coverings are only permitted for religious or medical reasons and must not cover the face.
Shooting tips
- Ideally, have the photo taken by a second person - no selfies.
- Keep the image section straight.
- Ensure good sharpness and contrast - a clean lens works wonders!
Checklist before submission:
- Face centered and both shoulders visible?
- Are facial expressions and lighting correct?
- Uniform background without shadows?
- No shadows on your face, reflections or distracting elements?
Practical tips for HR teams
- Include simple photo instructions with the invitation (pose, light, background).
- Recommend a third-party photo - selfies are often distorted or misaligned.
- Use a stool or a chair without a backrest to keep your shoulders visible.
- Test the light on location - no windows behind the subject, no direct light from above.
- Activate a preview so that users can check their photo immediately and retake it if necessary.
- Specify whether and how often a faulty photo may be retaken.
3. Photo Collect: Automated conformity at the touch of a button
With Photo Collect, you can fully automate the entire process of taking and checking headshot photos—in a compliant and scalable manner. The background is replaced with an approved color and the face is cropped to the correct size.
Automated photo capture - how it works
Users receive an invitation via email, SMS or QR code and upload the photo via smartphone or kiosk. The user-friendly interface supports correct alignment and image size as soon as the photo is taken.
AI-supported photo validation
Each image undergoes an automatic AI quality check: pixel size, head position, lighting and facial expression are checked. Faulty images are detected and the user is prompted to retake the picture.
Quality control & export
Photos are automatically cropped, the background removed and - if necessary - checked manually. If the photo is unsatisfactory, the user is informed of the reason and asked to submit an improved photo.
Conclusion
Taking biometrically correct photos doesn't have to be complicated or time-consuming. With the right tips - camera at eye level, even lighting, neutral facial expressions - you create the basis. Combined with a powerful platform like Photo Collect, the process is fast, secure and compliant.
Whether for ID cards, access control or web portals - Photo Collect is the leading solution for scalable, automated and standardized photo capture in the corporate environment.
Do you need biometric photos for your visa applications or employee cards? Contact us, we will be happy to help you.
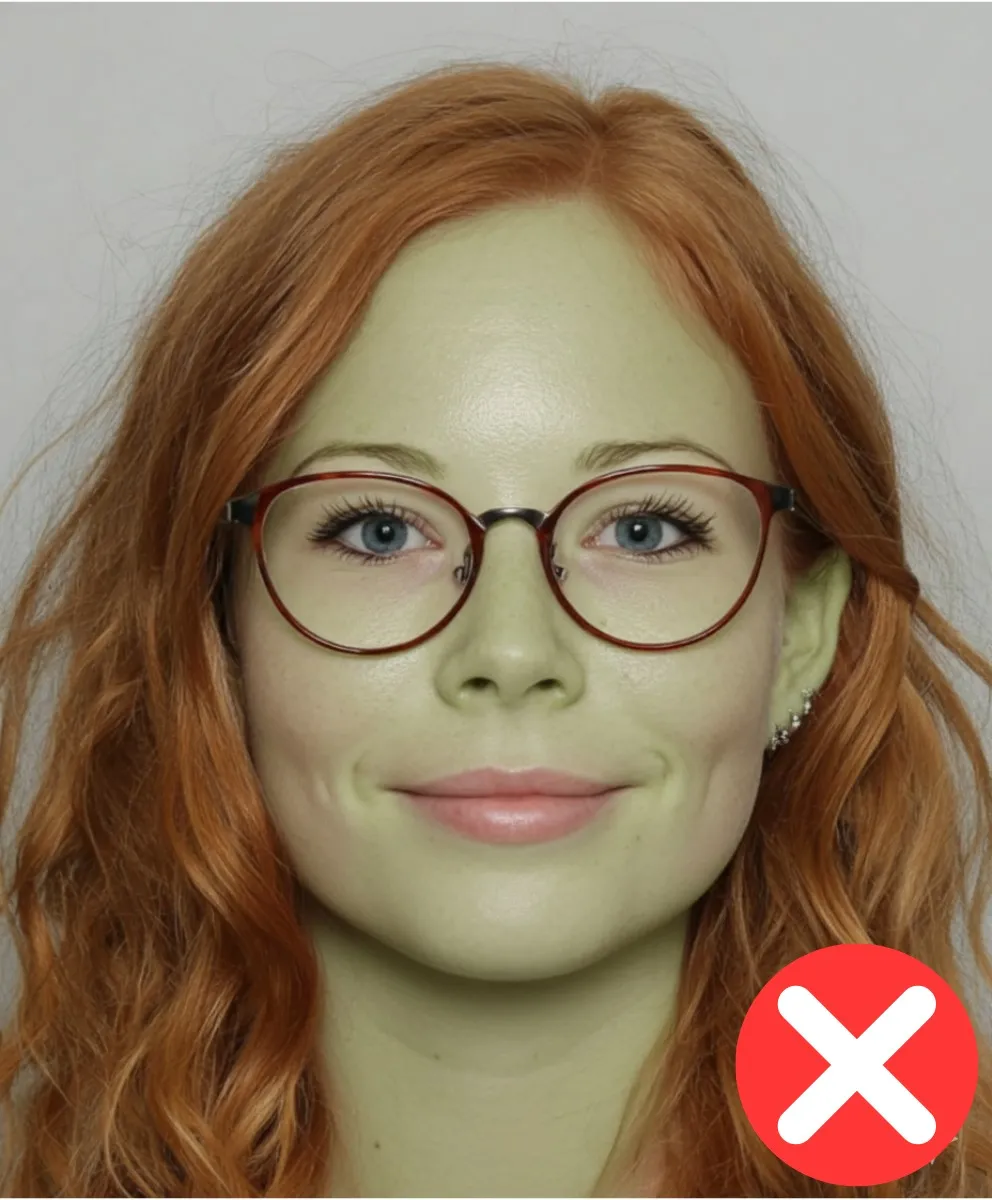
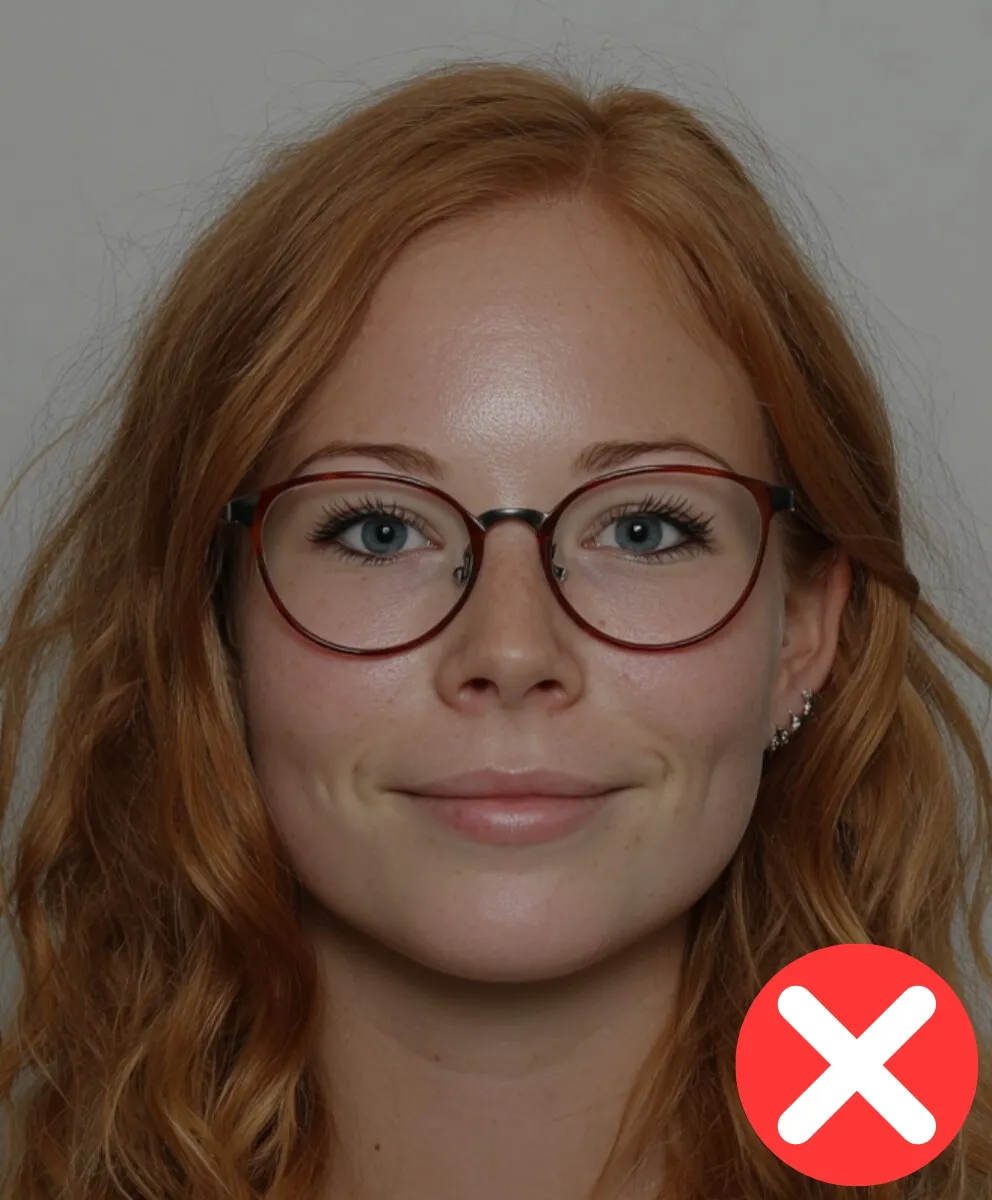
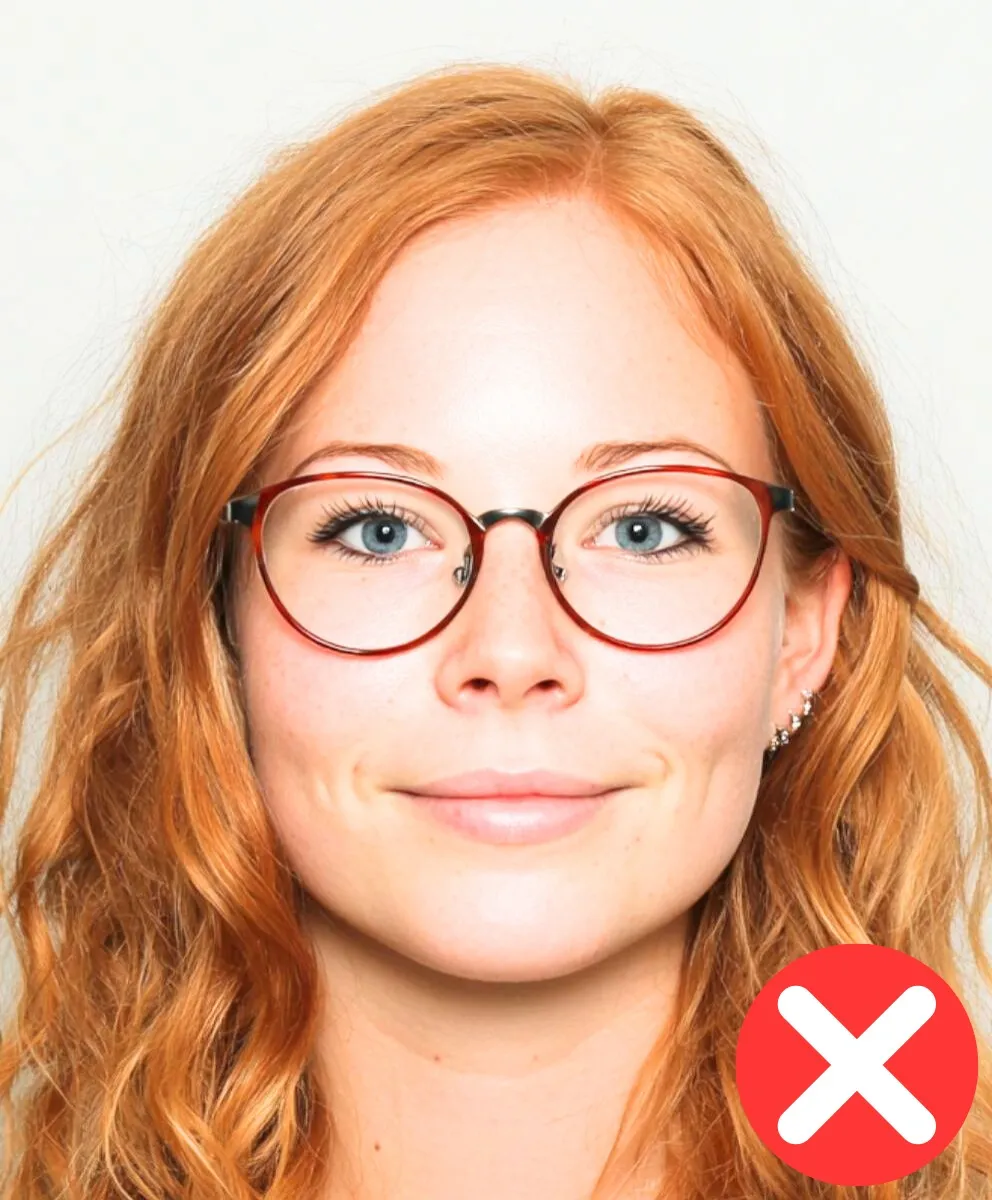
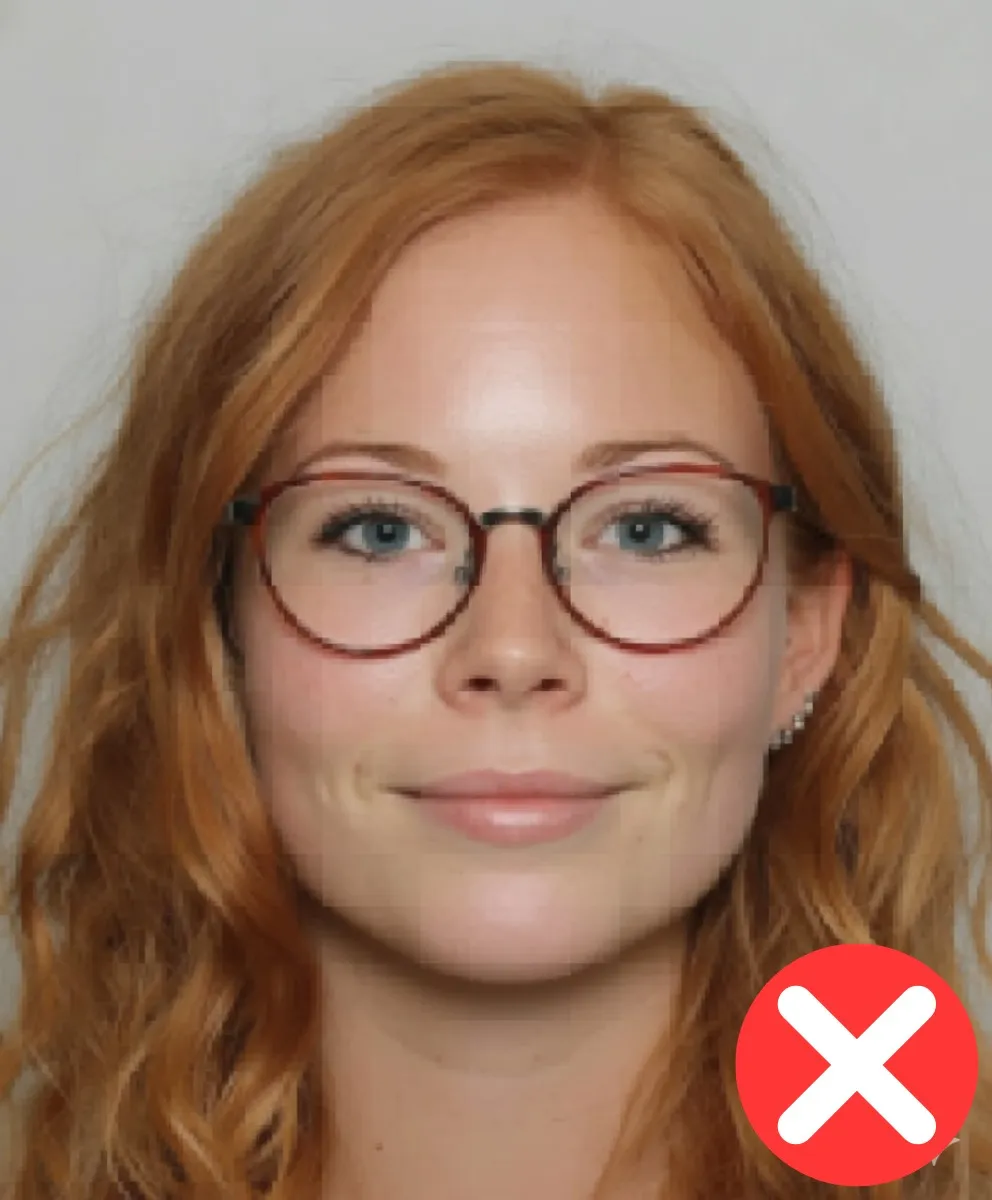
Examples
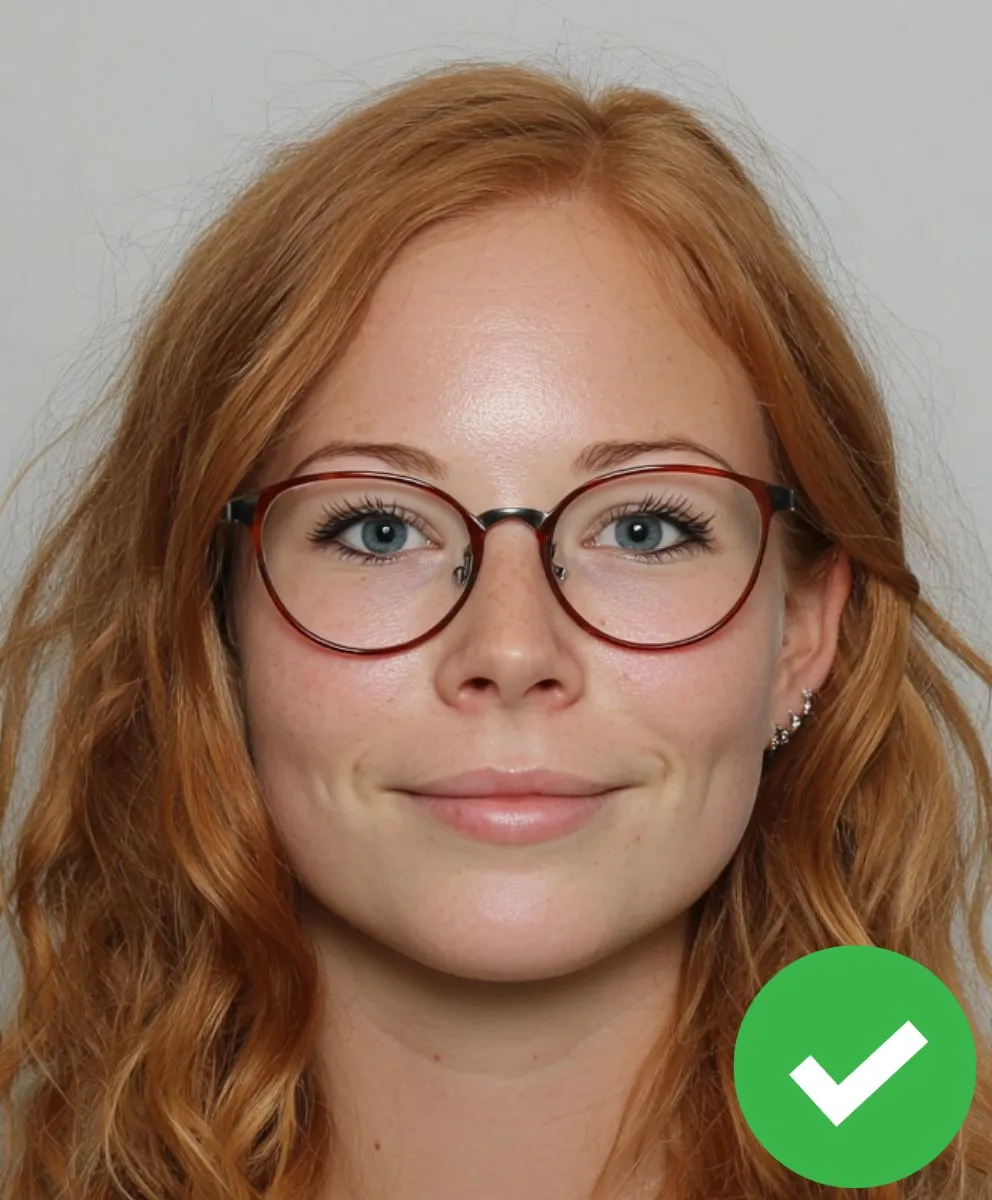
Photo quality requirements
The photo must meet the following criteria:
- must not be older than 6 months
- must have a width of 35-40 mm
- should show the head and upper shoulders, with the face taking up 70-80% of the picture
- must be sharp, clear and well lit
- must have no stains, creases, or other damage
The following also applies:
- You have to look directly into the camera
- the natural skin color should be reproduced realistically
- the photo must have balanced brightness and contrast
- it must be printed in high resolution and on high-quality photo paper
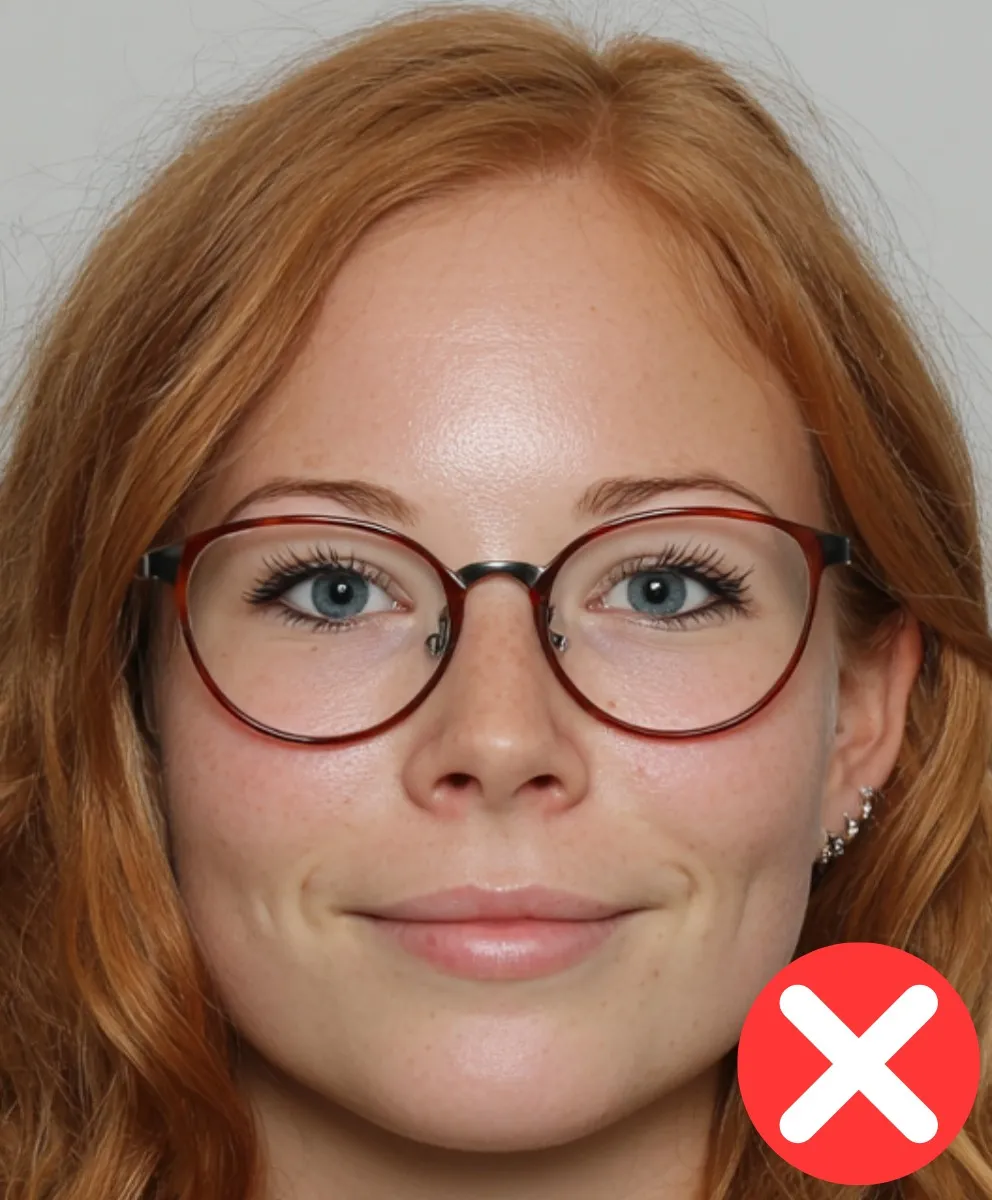
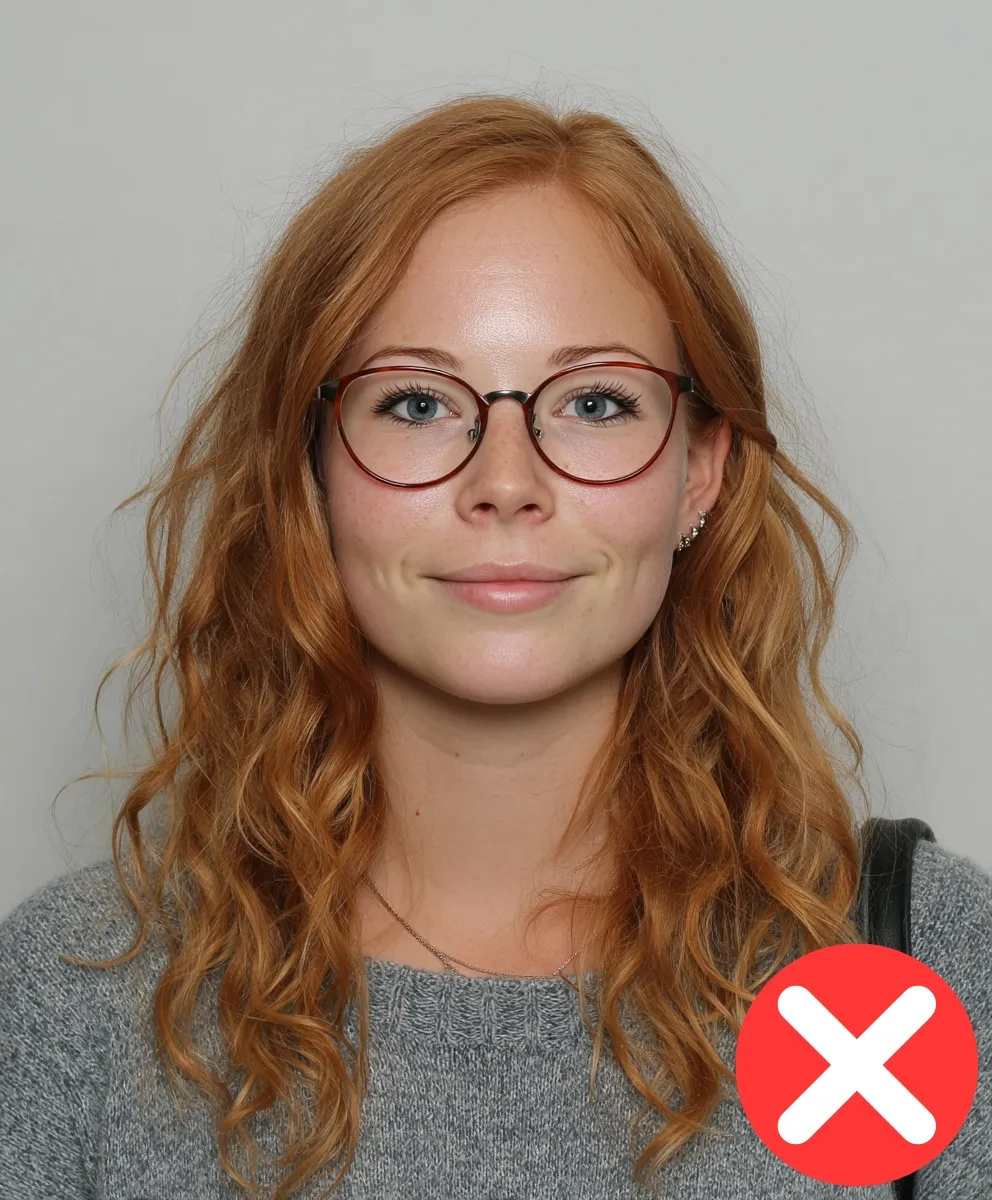
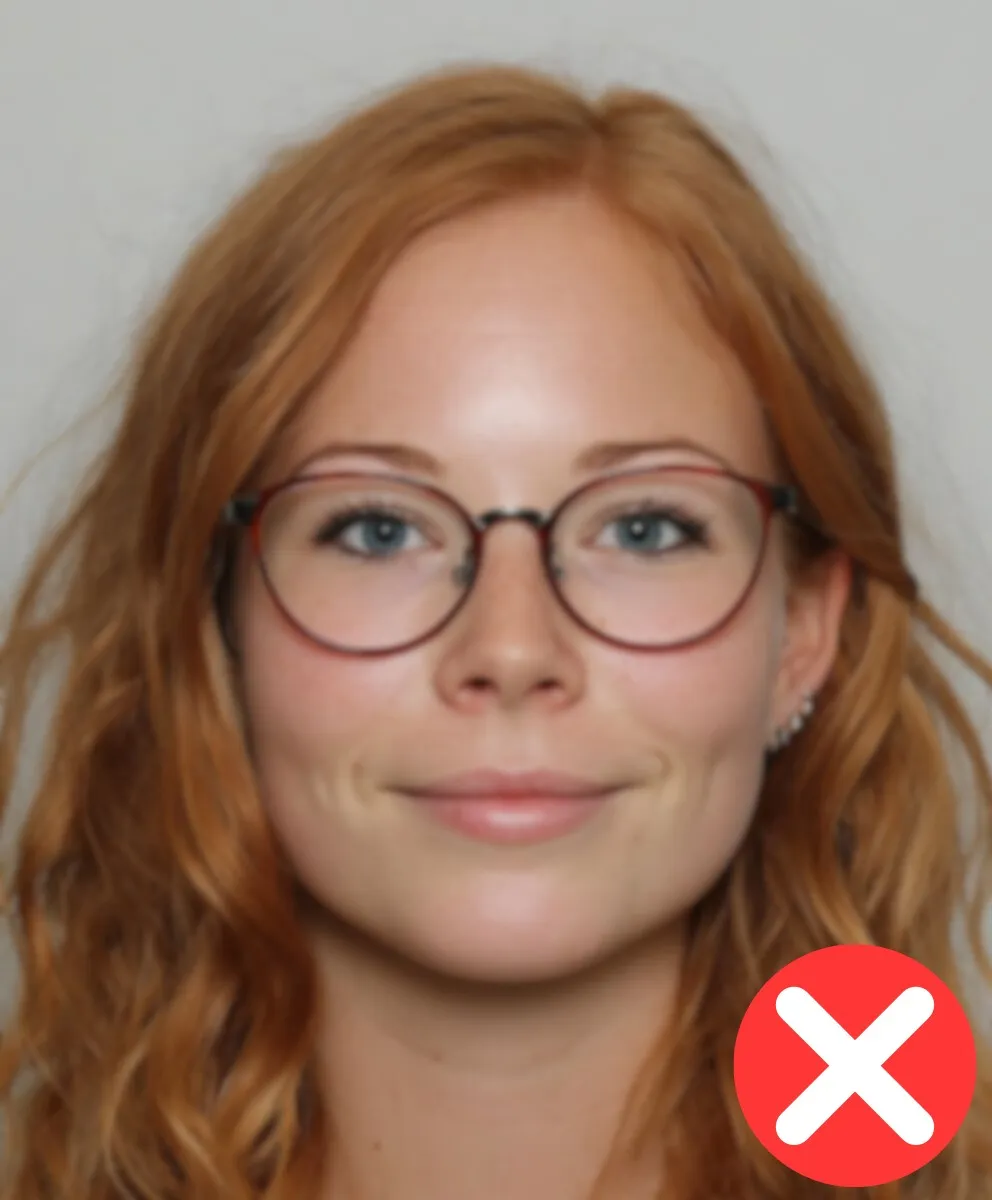
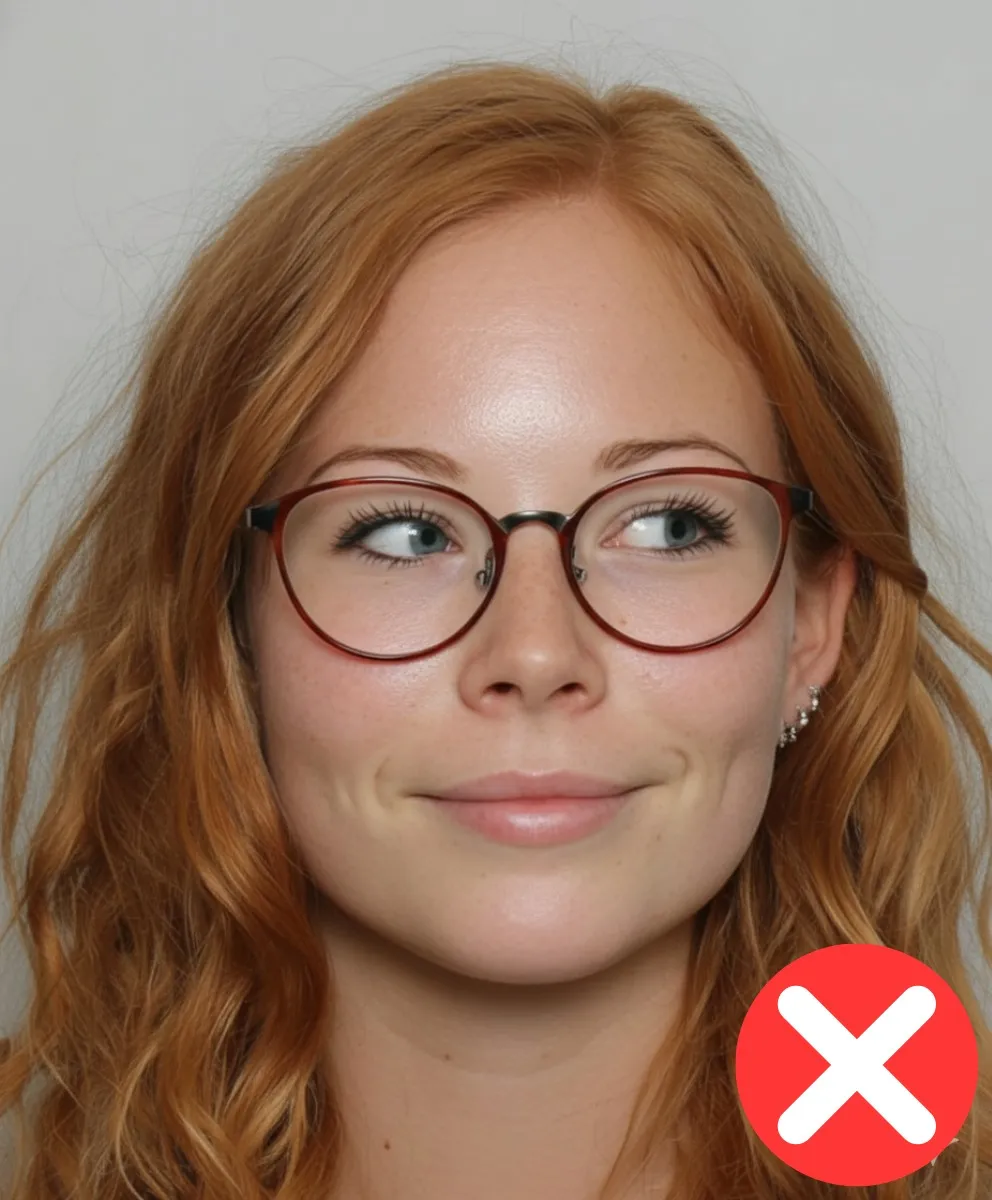
Style and lighting
The photos must:
- be color neutral
- show your eyes open and clearly visible - no hair should fall over your eyes
- face the camera head-on, not sideways or tilted (no portrait style), so that both halves of the face are clearly recognizable
- be taken against a plain, light background
- be evenly lit, without shadows, flash reflections on the face or a red-eye effect
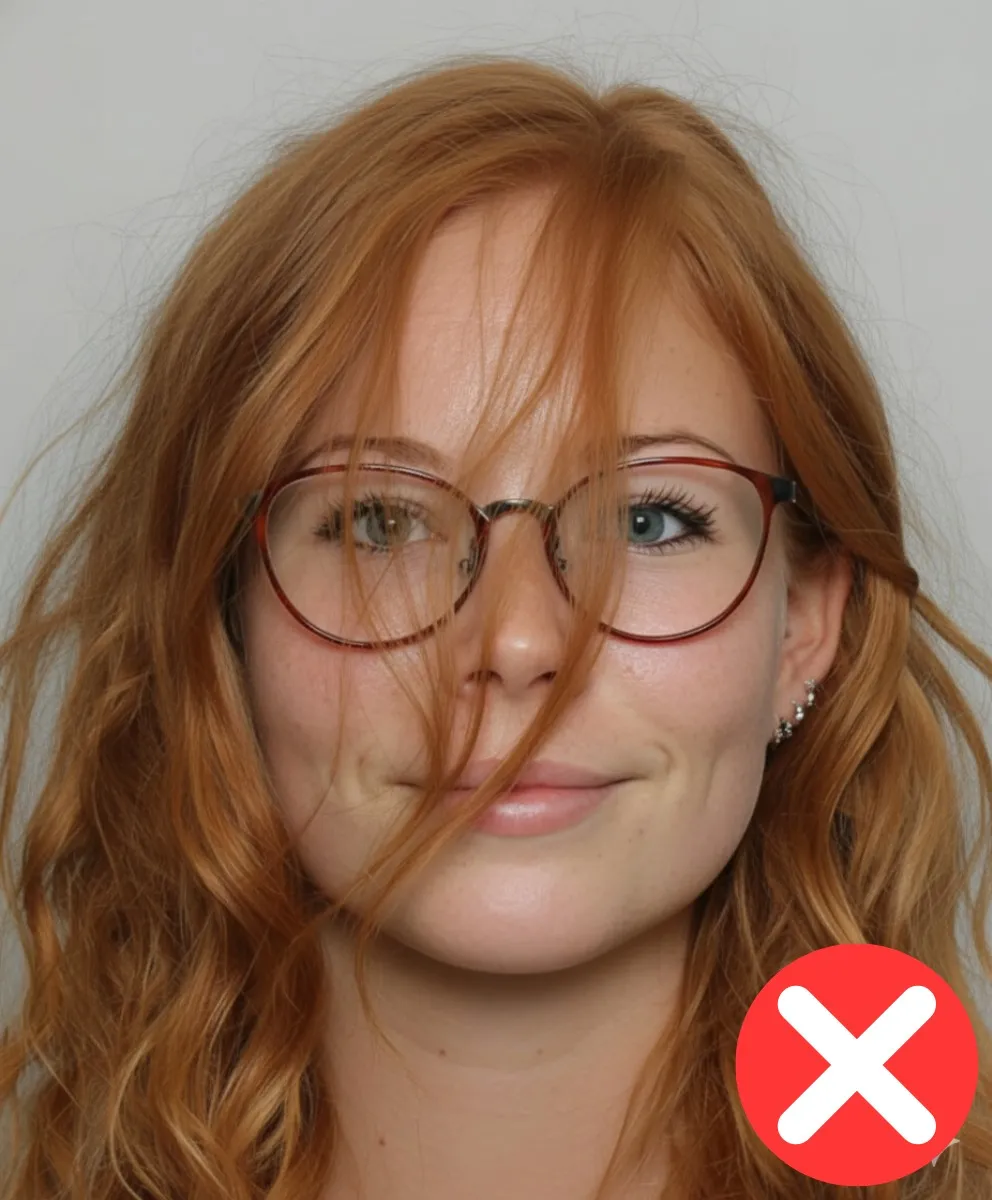
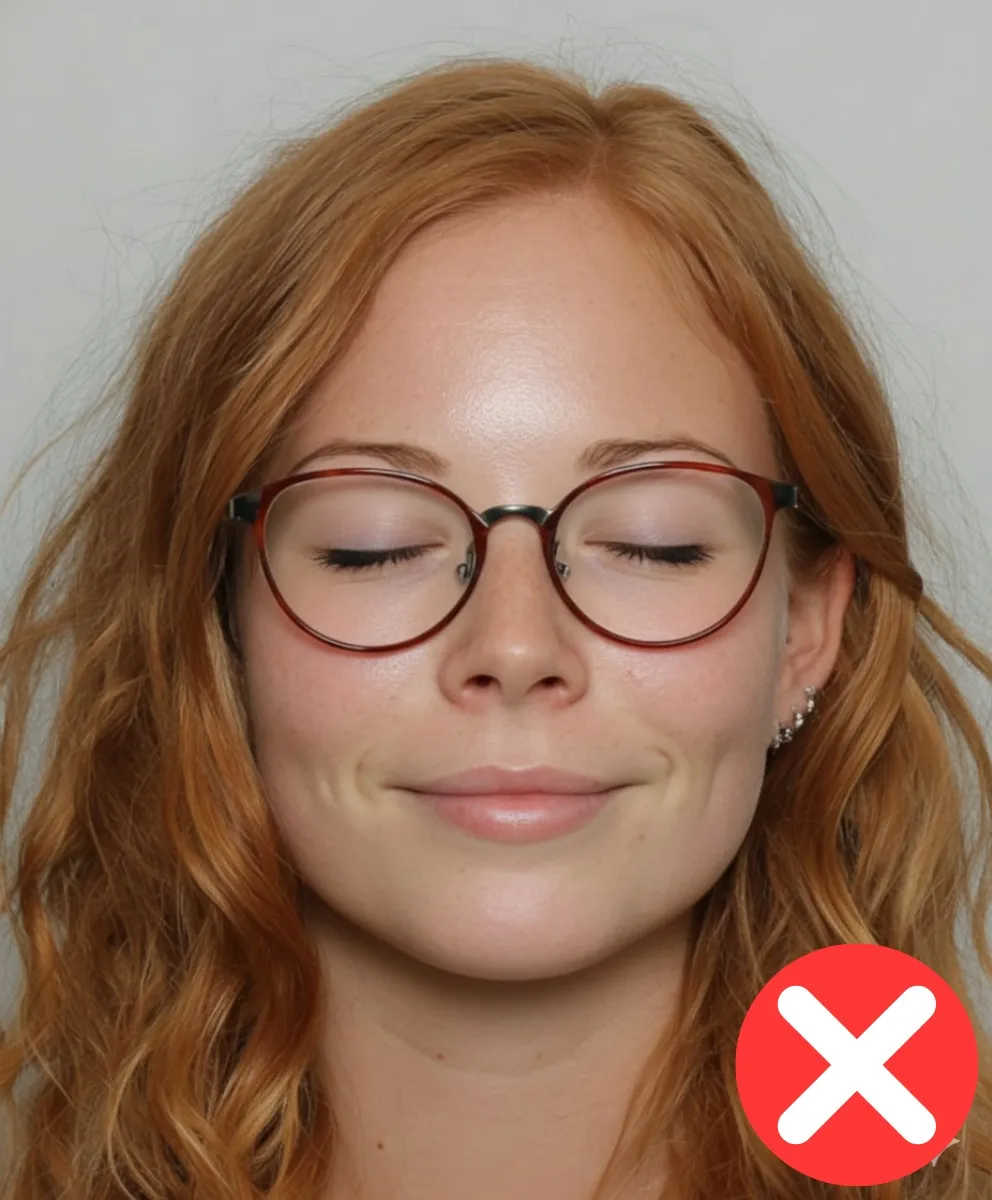
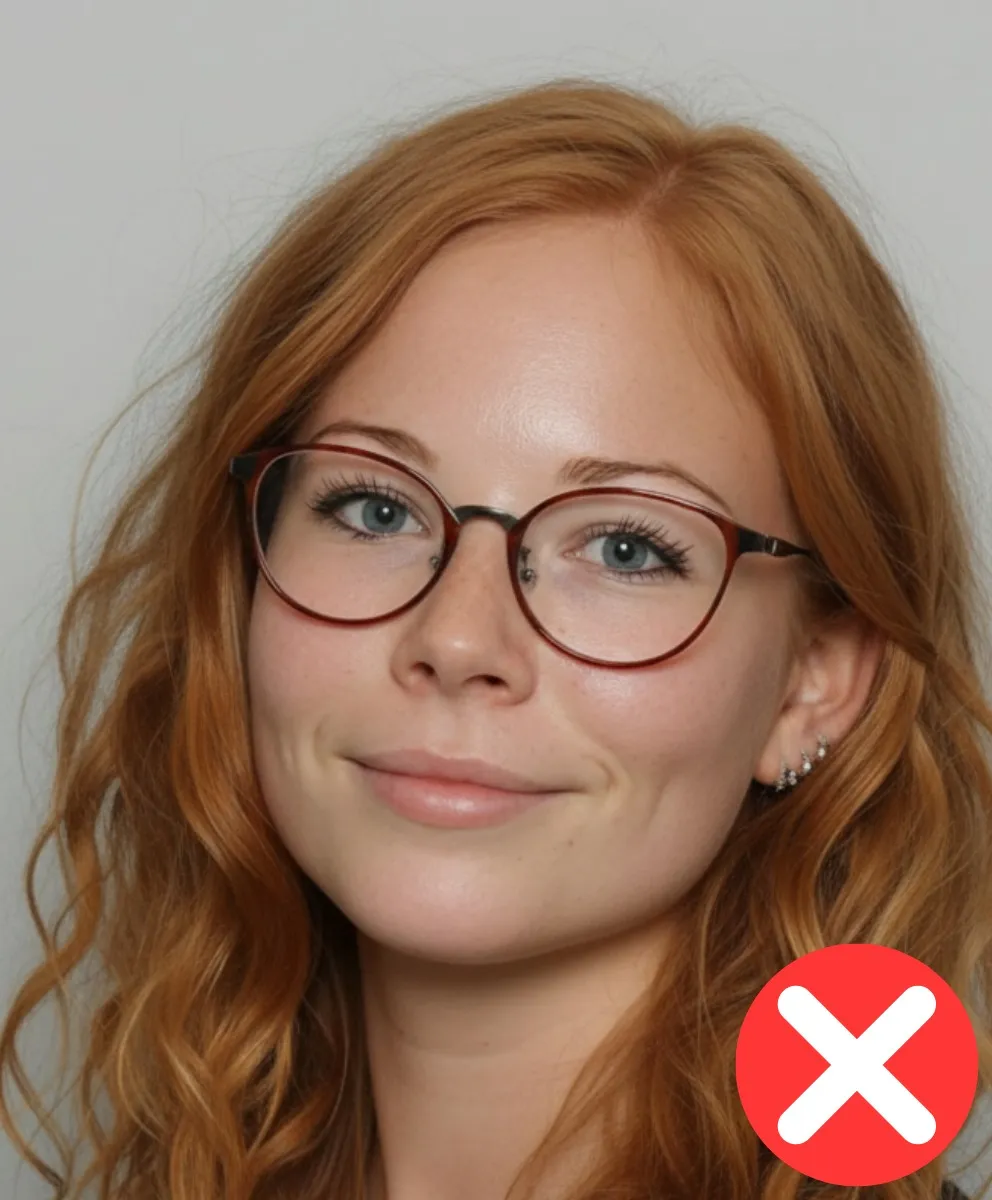
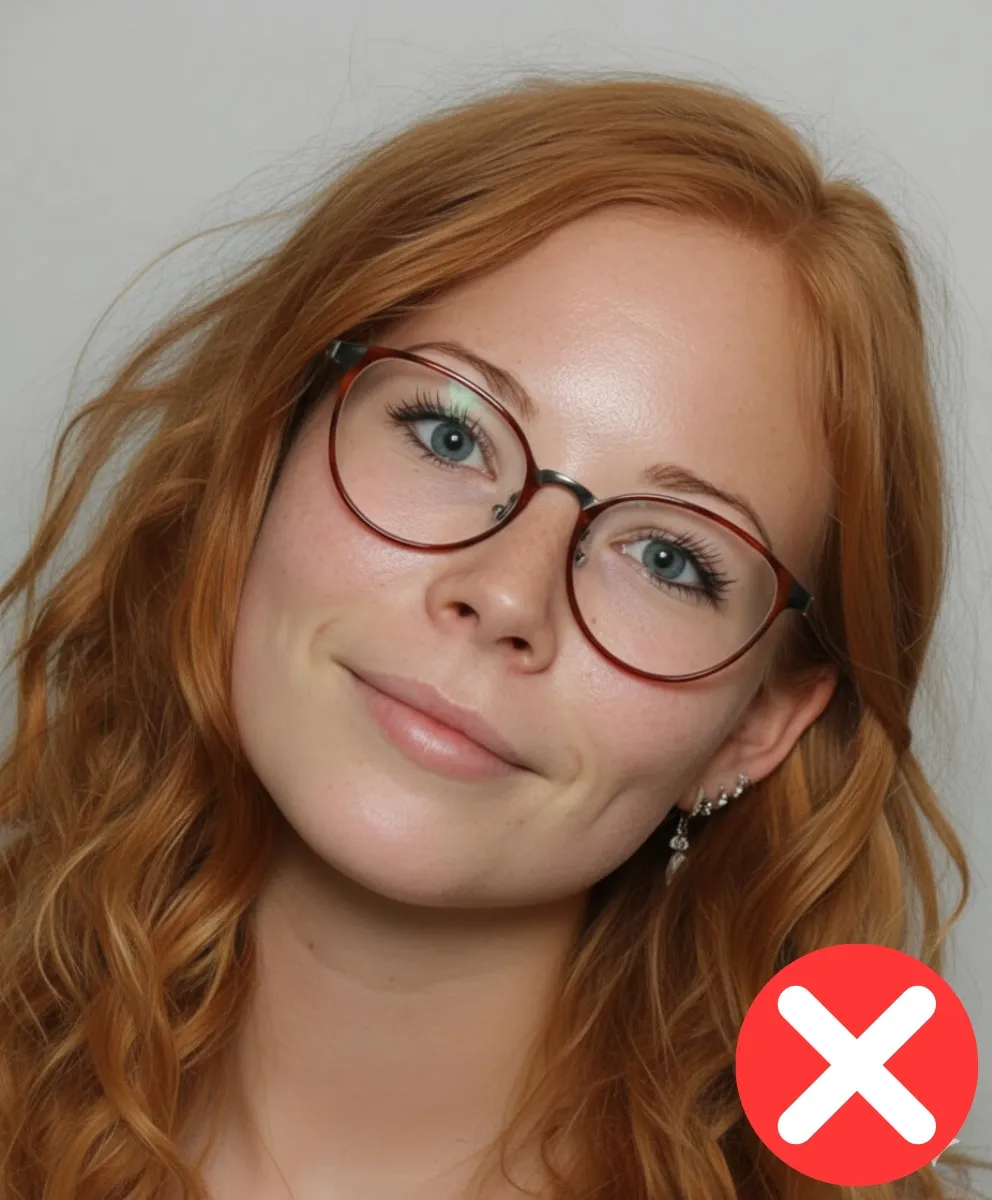
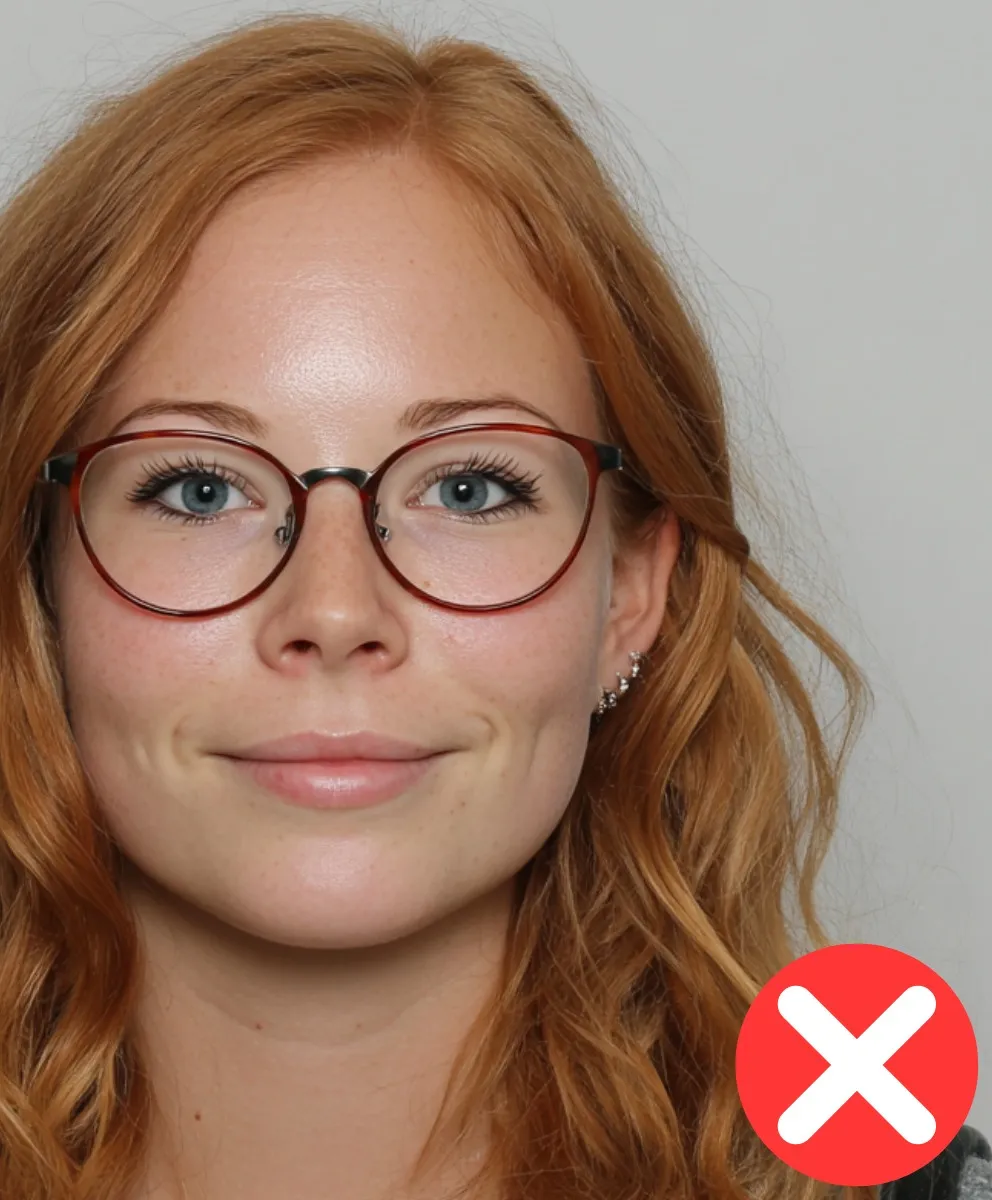
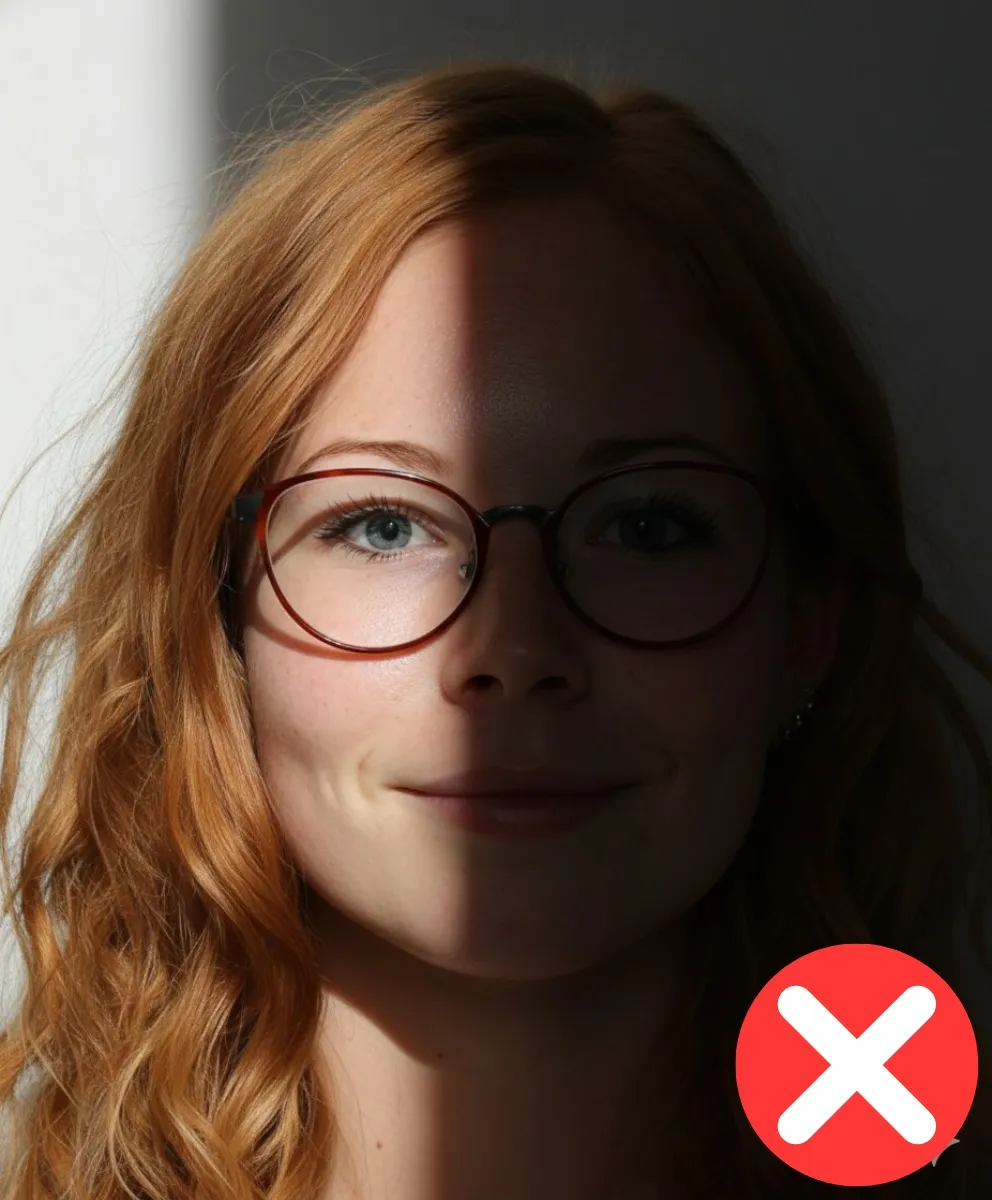
Glasses and headgear
If you wear glasses:
- The photo must show your eyes clearly - without flash reflections on the lenses and without tinted lenses. (If possible, avoid thick frames - wear lighter models if available.)
- Make sure that the frame does not cover any part of your eyes.
Headgear:
- Are only permitted for religious reasons. However, all facial features - from the chin to the forehead and the lateral contours of the face - must be clearly recognizable.